This Koshari is easy to make with pantry staples like lentils, chickpeas, rice, pasta and packed with amazing flavors. A keeper that the whole family will enjoy, even pickiest kids go for a second plate in no time. No one can tell it is naturally vegan.
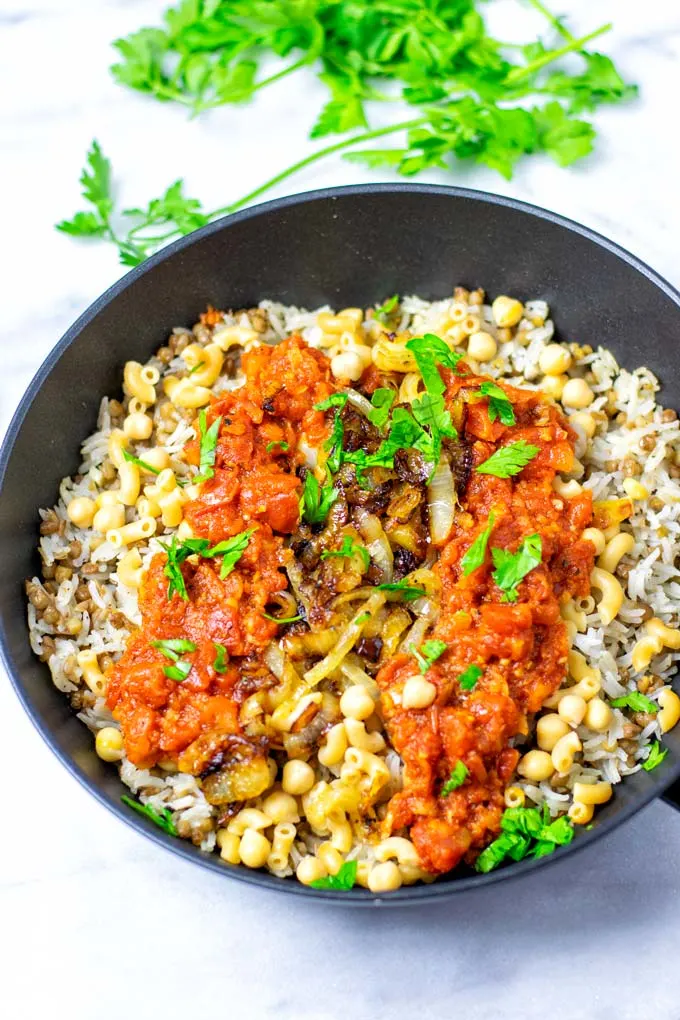
I have to tell you that here it is: all my favorite ingredients come together in one meal, which has seriously the best texture.
Lentils and chickpeas are high on my list like in this Mujadara, my Dal Makhani, or the Sweet Potato Curry. Any pasta floats my boat and I can enjoy all of this Creamy Mushroom Pasta or my Cajun Pasta.
Anyways whether you like them all or one is just your preference. Now you get them all, once you try it, you know you might eat this every day.
Why you want to try this Koshari
There are 2 things that will save you a good amount of time while trying:
- using leftover rice is great because the rice has already the best texture and flavor. It is cooled down, there is no need to wait until rice is soaked or reaches the desired texture.
- canned lentils are cooked so this way you save time. There is no need to wait until lentils are cooked.
Also you can really looking forward to a recipe that is
- easy to prepare with step-by-step pictures: you know and see what happens next.
- full of amazing flavors
- filling, texture perfect with different components
- using simple ingredients that you already store in your fridge which makes things even easier.
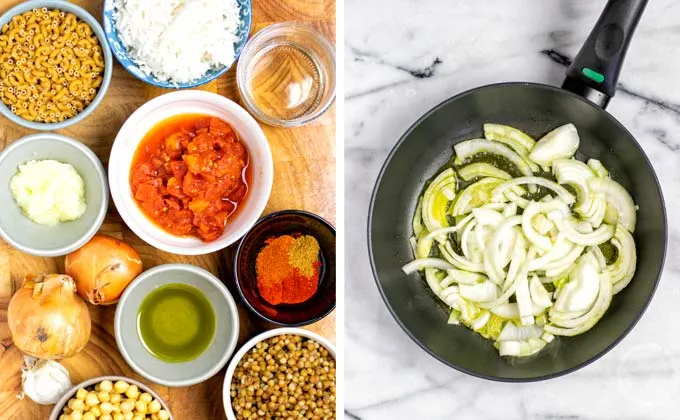
What you need for this Koshari recipe: `
- Macaroni
- leftover rice
- canned lentils, drained
- chickpeas
- diced tomatoes, drained
- smoked paprika
- chili powder
- garlic
- olive oil
- onion
- cumin
- vinegar
How to make Koshari
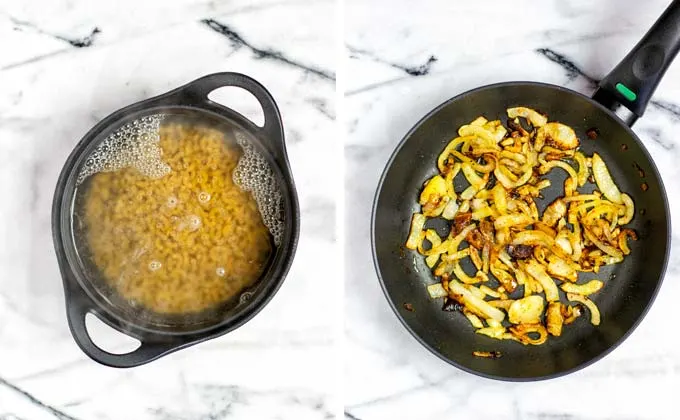
Start with a casserole or pot, add 3 Tbsp olive oil wait until it is hot. Add onions and fry them for around 15 minutes, season with salt and pepper.
While frying, set a pot filled with water and cook the Macaroni according to the package directions.
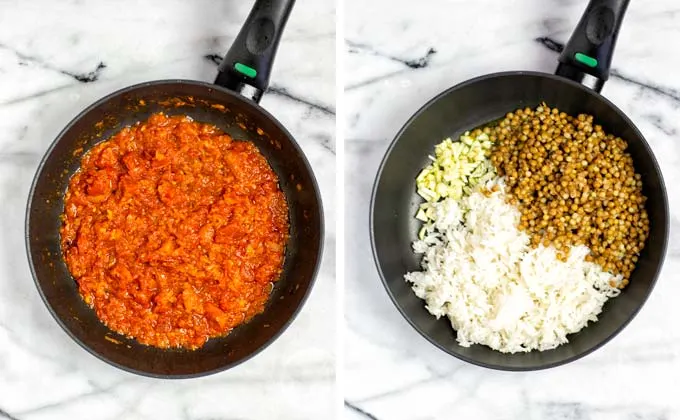
Before we are going to make the sauce: it is really important to drain your diced tomatoes. Otherwise you will have a much thinner sauce. You can use a strainer over a bowl, that you have in total as a result almost the tomato pieces and not the liquid.
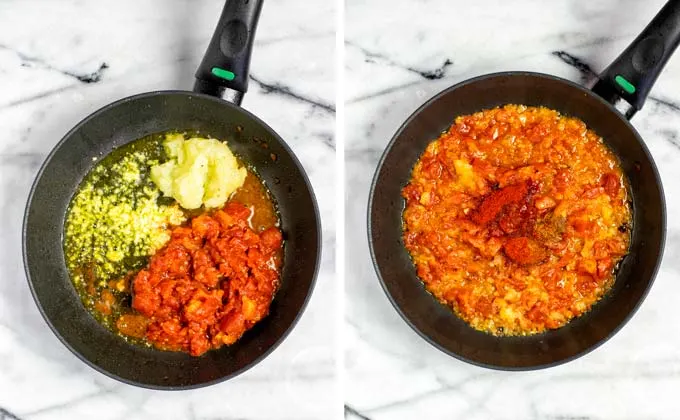
Next, heat again 1 Tbsp olive oil, fry grated onion, half of the garlic cloves (3 cloves, pressed – reserve rest for the rice) for around 3 minutes.
Add diced tomatoes, vinegar, chili powder, cumin, smoked paprika and season with a pinch of salt and pepper.
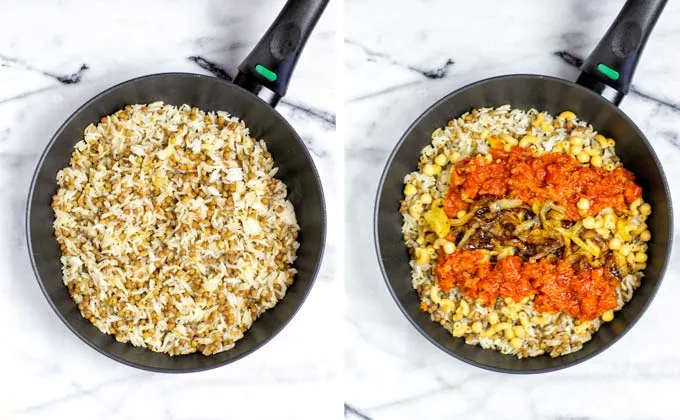
Finally heat 1 Tbsp olive oil in a pan, add the rest of the garlic, finely chopped and fry for 2 minutes. Add cooked rice, lentils and cook for 5 minutes more. Season with salt and pepper.
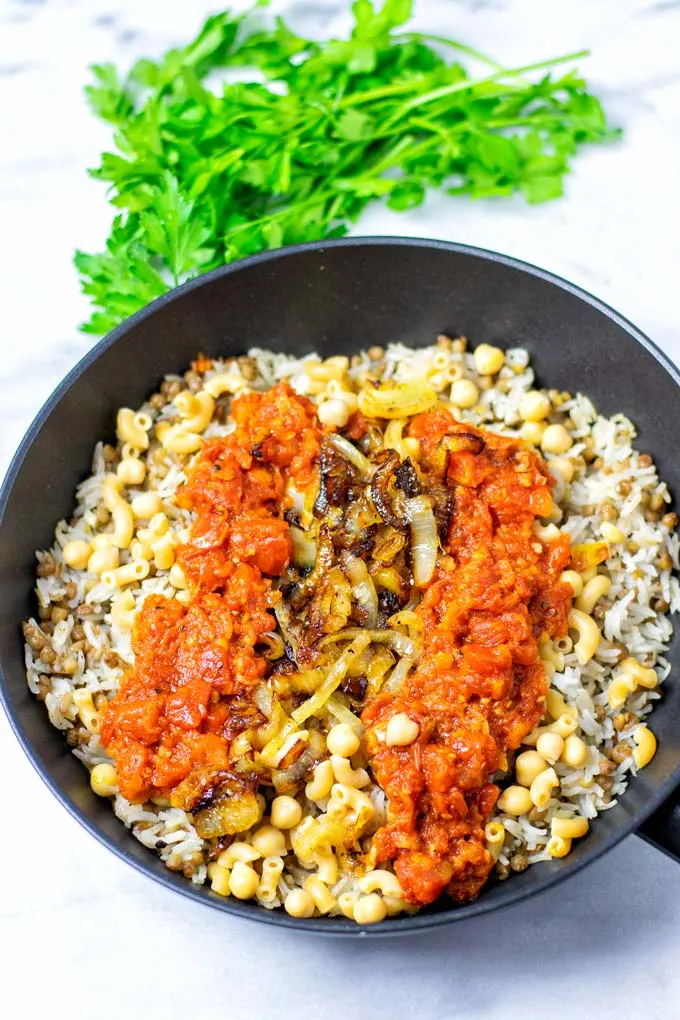
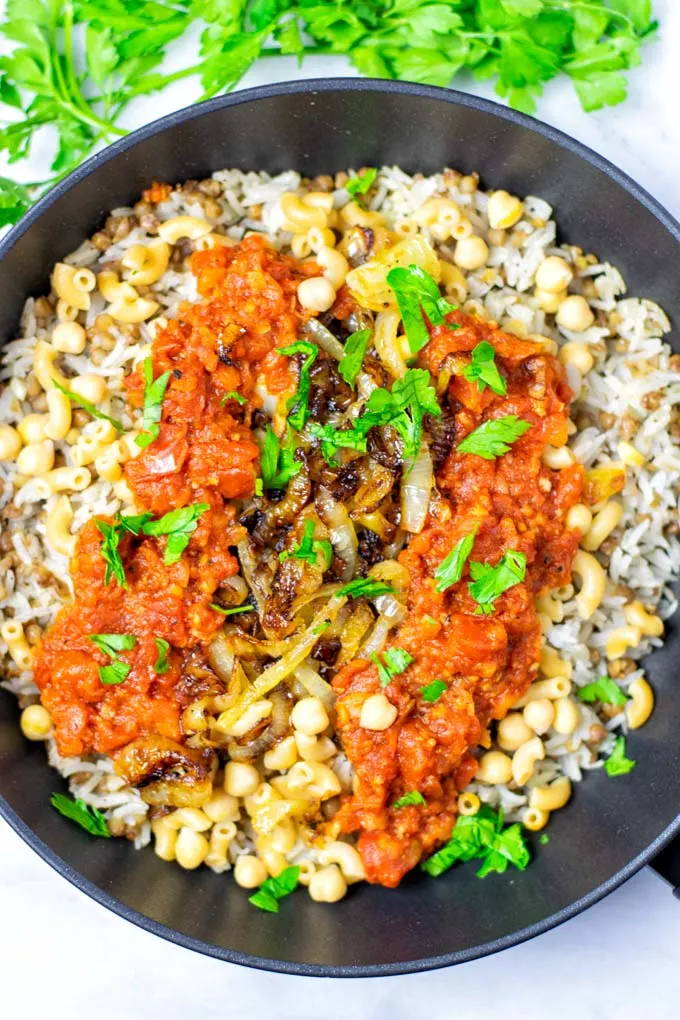
Last: you have 2 options for the warmed chickpeas, you can warm them without oil drained on the stove for a couple of minutes, or simple use a microwave safe container. Add chickpeas microwave them for 1 minute. Serve everything on plates or bowls start with lentil and rice mixture, followed by Macaroni and sauce, chickpeas and finally with fried onions.
This Koshari is such an amazing meal for dinner, lunch, or meal prep that once you try it, you always come back for more.
Tips and tricks:
If you want to save even more time, you can precook the pasta as well, then warm it on the stove or in the microwave.
Only recently I served this with fresh parsley and it was delicious.
I also found out it tastes delicious warm or cold, so there is no need to eat it warm . If you have leftovers, these will be good for a 1 week storage.
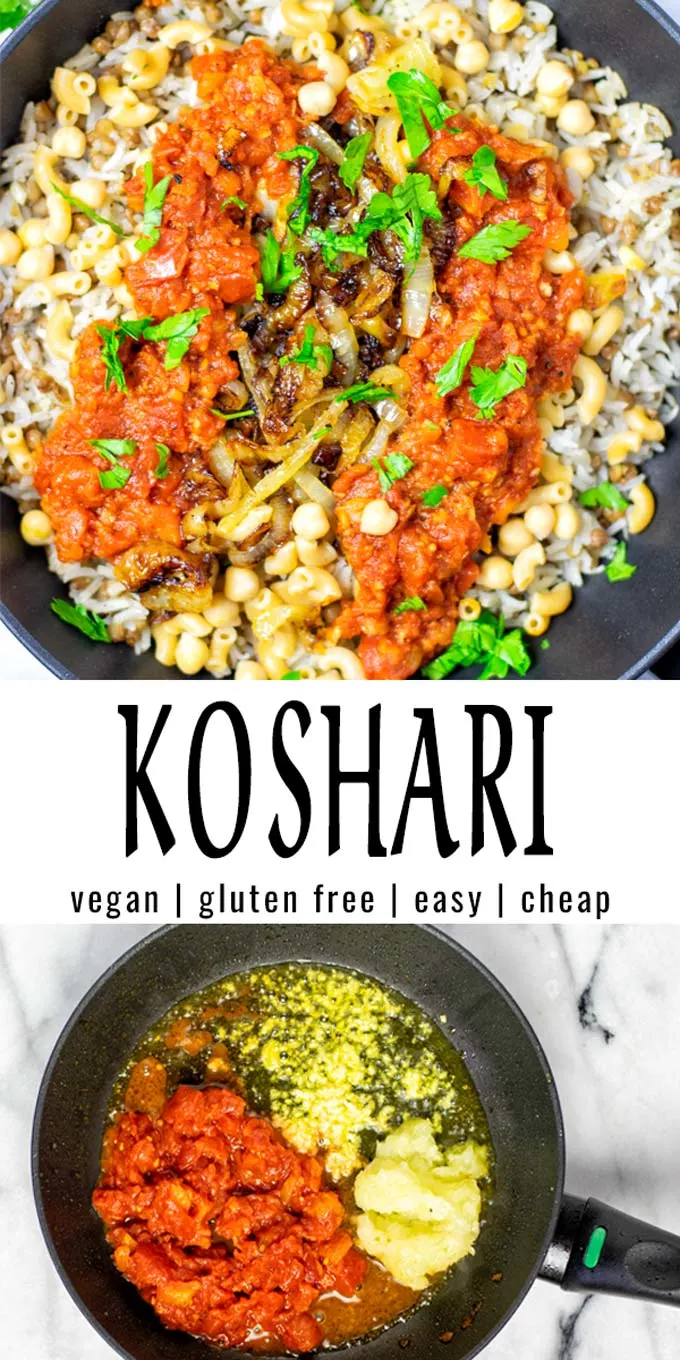
If you try this Egyptian koshari let me know with a tag on Instagram or Facebook.
Love seeing all your remakes.
Cheers, Florian.
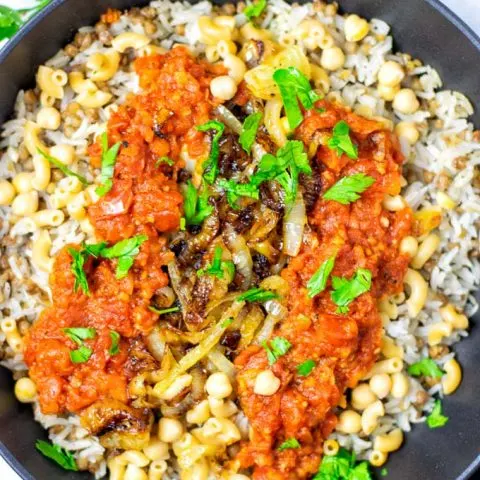
Koshari
This Koshari is easy to make with pantry staples like lentils, chickpeas, rice, pasta and packed with amazing flavors. A keeper that the whole family will enjoy, even pickiest kids go for a second plate in no time. No one can't tell it is naturally vegan
Ingredients
- 1/2 cup Macaroni, uncooked (use gf, if needed)
- 1 cup basmati rice, cooked
- 14 oz diced tomatoes, drained
- 1 Tbsp white vinegar
- 1 cup cooked lentils
- 6 cloves garlic (3 minced, 3 pressed)
- 1/2 cup chickpeas, drained
- 1/2 cup onions, grated
- 1 cup onions
- 5 Tbsp olive oil, divided
- 2 tsp chili powder
- 3 tsp cumin powder
- 4 tsp paprika powder
Instructions
- Start with a casserole or pot, add 3 Tbsp olive oil wait until it is hot. Add onions and fry them for around 15 minutes, season with salt and pepper.
- While frying, set a pot filled with water and cook the Macaroni according to the package directions.
- Next, heat again 1 Tbsp olive oil, fry grated onion, half of the garlic cloves (3 cloves, pressed - reserve rest for the rice) for around 3 minutes. Add diced tomatoes, vinegar, chili powder, cumin, smoked paprika and season with a pinch of salt and pepper.
- Finally heat 1 Tbsp olive oil in a pan, add the rest of the garlic, finely chopped and fry for 2 minutes. Add cooked rice, lentils and cook for 5 minutes more. Season with salt and pepper.
- Warm chickpeas and serve everything on plates or bowls start with lentil and rice mixture, followed by Macaroni and sauce, chickpeas and finally with fried onions.
Nutrition Information:
Yield: 2 Serving Size: 2.5 cupsAmount Per Serving: Calories: 453Total Fat: 12gSaturated Fat: 1.5gTrans Fat: 0gUnsaturated Fat: 9.9gCholesterol: 0mgSodium: 922mgCarbohydrates: 75.2gFiber: 9.7gSugar: 4.6gProtein: 14.7g